

Summer is right around the corner! While the warmer months bring plenty of sunshine and outdoor fun, they also bring a major shift in routine. For a child with autism, the loss of a structured day can sometimes feel overwhelming.
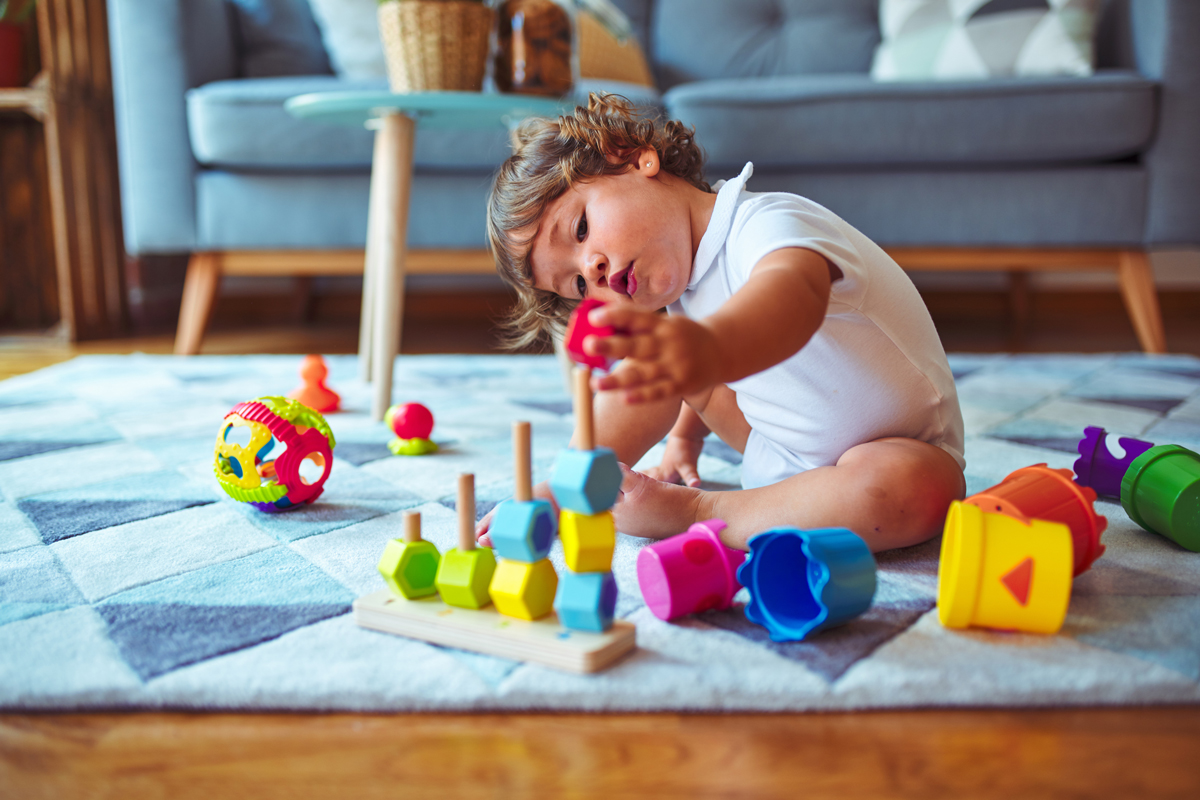
Sensory bins are a fantastic, low-stress way to bring regulated play right into your living room (or onto the back patio). They offer a contained, predictable space where your child can explore different textures, build fine motor skills, and decompress at their own pace.
Here is your step-by-step guide to crafting a summer-themed sensory bin.
Step 1: Choose Your Base (The Summer Vibe)
The base is the main filler of your bin. When choosing a base for a child with autism, it’s important to consider their sensory preferences.
Here are some great summer-themed bases categorized by sensory preference:
| Base Material | Best For… | Summer Theme Idea |
| Dry Rice or Pasta (Dyed blue/yellow) | Clean, predictable | “Ocean water” or “Sandy beach” |
| Water beads or Ice cubes | Cool, wet, dynamic | “Pool party” or “Melting icebergs” |
| Kinetic Sand | Moldable, doesn’t stick to hands | “Sandcastle building” |
| Shaving Cream | Messy, olfactory input | “Fluffy summer clouds” |
Pro-Tip: If your child is in a phase where everything goes into their mouth, skip the water beads and plastic toys. Use an edible base like crushed Cheerios (looks just like sand!), cooked blue spaghetti, or coarse salt.
Step 2: Pack the Tools (Building Fine Motor Skills)
The tools are what turn a bin from a simple tactile experience into an engaging activity. Scooping, pouring, and grasping are excellent for developing hand-eye coordination and fine motor strength.
- The Basics: Plastic measuring cups, funnels, and spoons.
- Summer Specifics: Sand molds, clean sunscreen bottles (for squeezing practice), ice cube trays, or a small watering can.
- Fine Motor Boosters: Jumbo tweezers or tongs to pluck items out of the base.
Step 3: Layer in the Summer Fillers
Now for the fun part—the details! Choose 3 to 5 types of items to scatter throughout the bin. Keeping a cohesive theme helps with language development and imaginative play. Below are some examples, but feel free to customize the bin to your child’s preferences.
Example A: The “Deep Blue Sea” Bin
- Base: Blue-dyed sensory rice or beads.
- Fillers: Plastic ocean animals (sharks, whales, crabs), smooth glass gems (for buried treasure), and real seashells.
- Why it works: Sorting the animals by size or color provides a calming, repetitive cognitive task.
Example B: The “Backyard Bug Hunt” Bin
- Base: Dried black beans or split peas (to look like dirt/grass).
- Fillers: Plastic faux bugs, fake silk leaves, and small twigs.
- Why it works: Using tweezers to “catch” the bugs provides great resistance for kids who crave deep pressure input.
Step 4: Introduce the Bin with Intention
How you introduce the sensory bin can make or break the experience. To keep things calm and successful, keep these tips in mind:
- Follow Their Lead: Don’t force your child to stick their hands right in. If they are hesitant, give them a tool (like a shovel) so they can interact with the material without touching it directly.
- Watch for Overstimulation: Sensory play is meant to regulate, but sometimes it can escalate into dysregulation. If your child starts throwing the base, hyper-focusing to the point of distress, or showing signs of agitation, it’s okay to put the bin away and try again another day.
The Beauty of Predictable Play
Summer is beautiful, but it can also be loud, bright, and unpredictable. A sensory bin offers a tiny, controlled universe where your child is entirely in charge of what they touch, move, and explore.
Happy creating, and have a wonderful, sensory-friendly summer!